- Bellow is the sample code to power the IR shield.
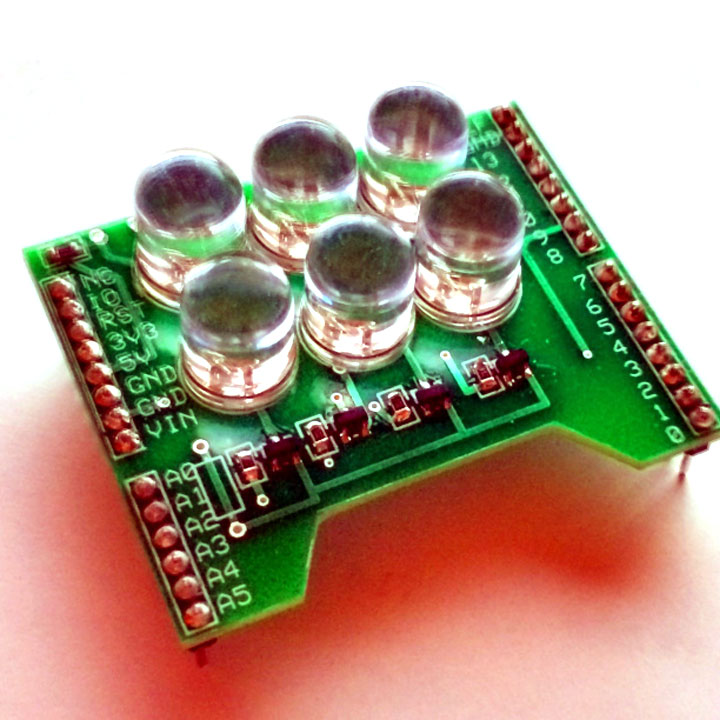
- The sample flashes from Channel 1 to 2 to 3 and varies the intensity of the LEDs as well.
- The ability to set the intensity is crucial. All too often we see images that are wiped out from to strong IR.
- By changing the value of “y” in the sample you can change the intensity of the LEDs.
- By turning the channels on and off you can create a strobe effect.
- Stay Safe: These are very powerful IR “infrared” LEDs. Though no warnings have been issued, be safe and avoid looking at them directly.
========================================================================================================
/*
GhostBoxHack.com
IR Shield Sample Code
*/

// Define the pins used to power and run the shield

int ch1 = 3; // LEDS 1&2
int ch2 = 5; // LEDS 3&4
int ch3 = 6; // LEDS 5&6
int x = 100; // Delay in ms
int y = 0;   // PWM duty cycle
int pwr = 9; // Main Power control

void setup(void)
// Tell the Arduino how to use the pins
{
   pinMode(3, OUTPUT);      // sets the digital pin as output
   pinMode(5, OUTPUT);      // sets the digital pin as output
   pinMode(6, OUTPUT);      // sets the digital pin as output
   pinMode(9, OUTPUT);      // sets the digital pin as output
}

// Strobe and change intensity
void loop()
{
  analogWrite(pwr, y);
  digitalWrite(ch1, HIGH);   // sets the LED on
  delay(x);                      // waits for a second
  digitalWrite(ch1, LOW);  // sets the LED off
  delay(x);                     // waits for a second
  digitalWrite(ch2, HIGH); // sets the LED on
  delay(x);                    // waits for a second
  digitalWrite(ch2, LOW); // sets the LED off
  delay(x);                    // waits for a second
  digitalWrite(ch3, HIGH); // sets the LED on
  delay(x);                    // waits for a second
  digitalWrite(ch3, LOW); // sets the LED off
  delay(x);                   // waits for a second
  x--;
  y++;
 if (x < 1) x = 100 ;
 if (y > 75) y = 0;
}